
New User Account
Creating new users for Practice Protect can be in several account types depending on your company’s software environment.
It is crucial that your new accounts are created correctly in order to avoid issues.
Account Types
- In Cloud Only Account (See steps below)
- The accounts only exists in Practice Protect portal without any integration to Office 365, Google Workspace, or Active Directory.
- AzureAD/Office 365 Sourced Account (Click Here)
- Accounts and created and managed from Office 365/AzureAD portal. Account password is set in Office 365. Attributes sync from Office 365 to Practice Protect.
- Office 365 Email Integrated Account (Click Here)
- The accounts are created in Practice Protect and linked with the corresponding account in Office 365. Some attributes in Office 365 are inhibited from its Practice Protect account.
- Active Directory Linked Account (Click Here)
- The accounts are being managed by your organization’s in-premise Active Directory. It can also be integrated to Office 365.
- Google Workspace Email Integration Account (Click Here)
- The accounts are created in Practice Protect and linked with the corresponding account in Google Workspace. Some attributes in Google Workspace are inhibited from its Practice Protect account.
Instructions – In Cloud Only Account
In this procedure, you will be able to create an In Cloud Only user account in Practice Protect.
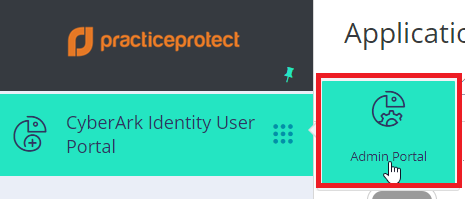
- Login to your Admin Portal.
- Under Core Services, click on Users

On the upper right corner, click Add User.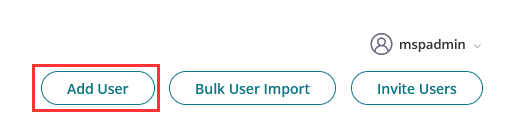
- You will be redirected to the Account form, then input the fields required.
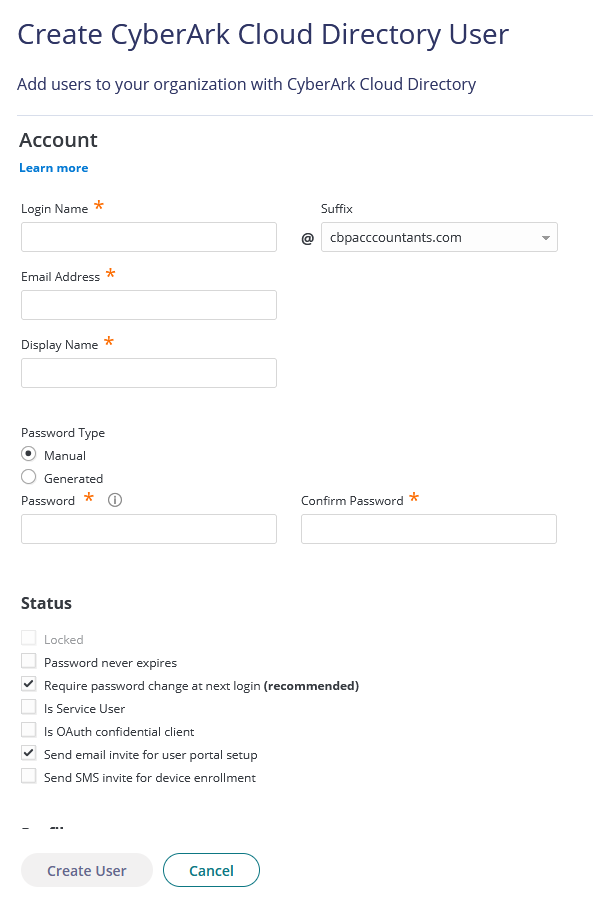
Login Name is the name that the user will use in the login page of Practice Protect portal. It has a designated suffix/suffices depending on what domain is registered.
Email Address is the actual email address of the user that Practice Protect delivers notifications, invites, etc.Display Name is the profile name of the user.
Password is the password for the account. There are two types of password assignment. Manual assignment is where the user manager assign/appoint a password for the user. Generated assignment is where the system generates a temporary password for the account and include it in the email invite.
Password field also have certain restrictions.
Password Requirements: Must be at least 8 characters long. Must be less than 64 characters long. Must include at least one digit. Must include at least one upper case and one lower case letter.
Once the required fields are complete, click on Create User.
Assigning Policy
Users must have a policy assigned to their accounts to be able to access. Policies are consist of conditions where it limits the access of each user.
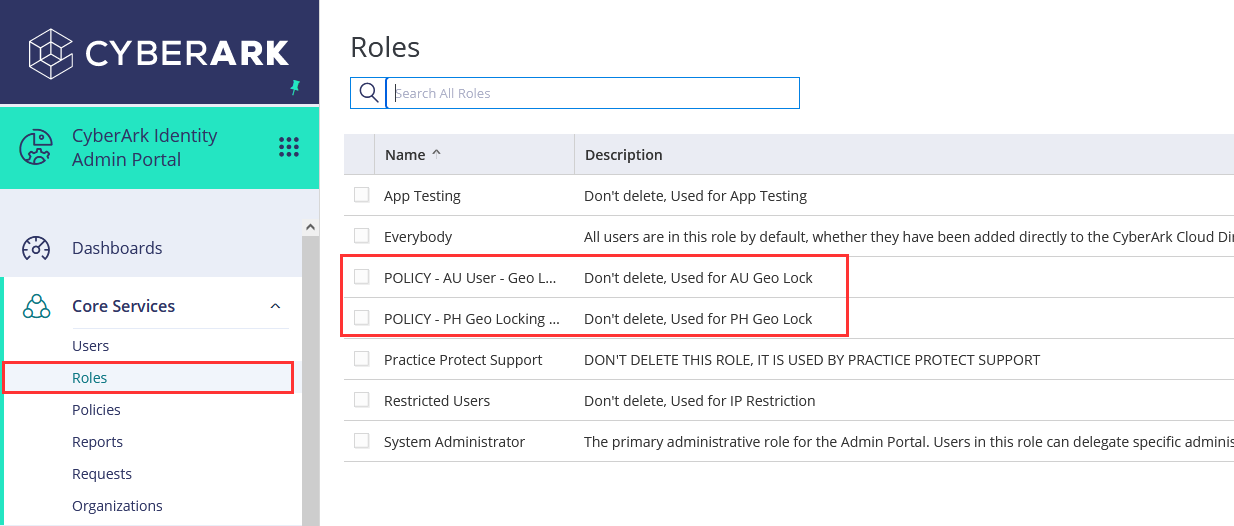
- Go to your Admin Portal.
- Go to Roles, then search and select and role that corresponds to a policy.
- Once inside the role, go to Members, then click Add.
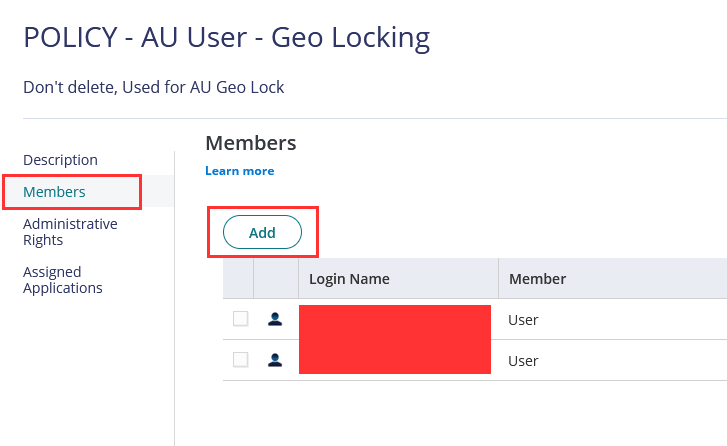 Search and select for the user, then Save.
You have now assigned a policy to a user.